
Another day in August might be another ordinary day for you, but today, for me, is a special day because it is my best friend’s birthday!! Guess who decided to make another DIY gift for him!!
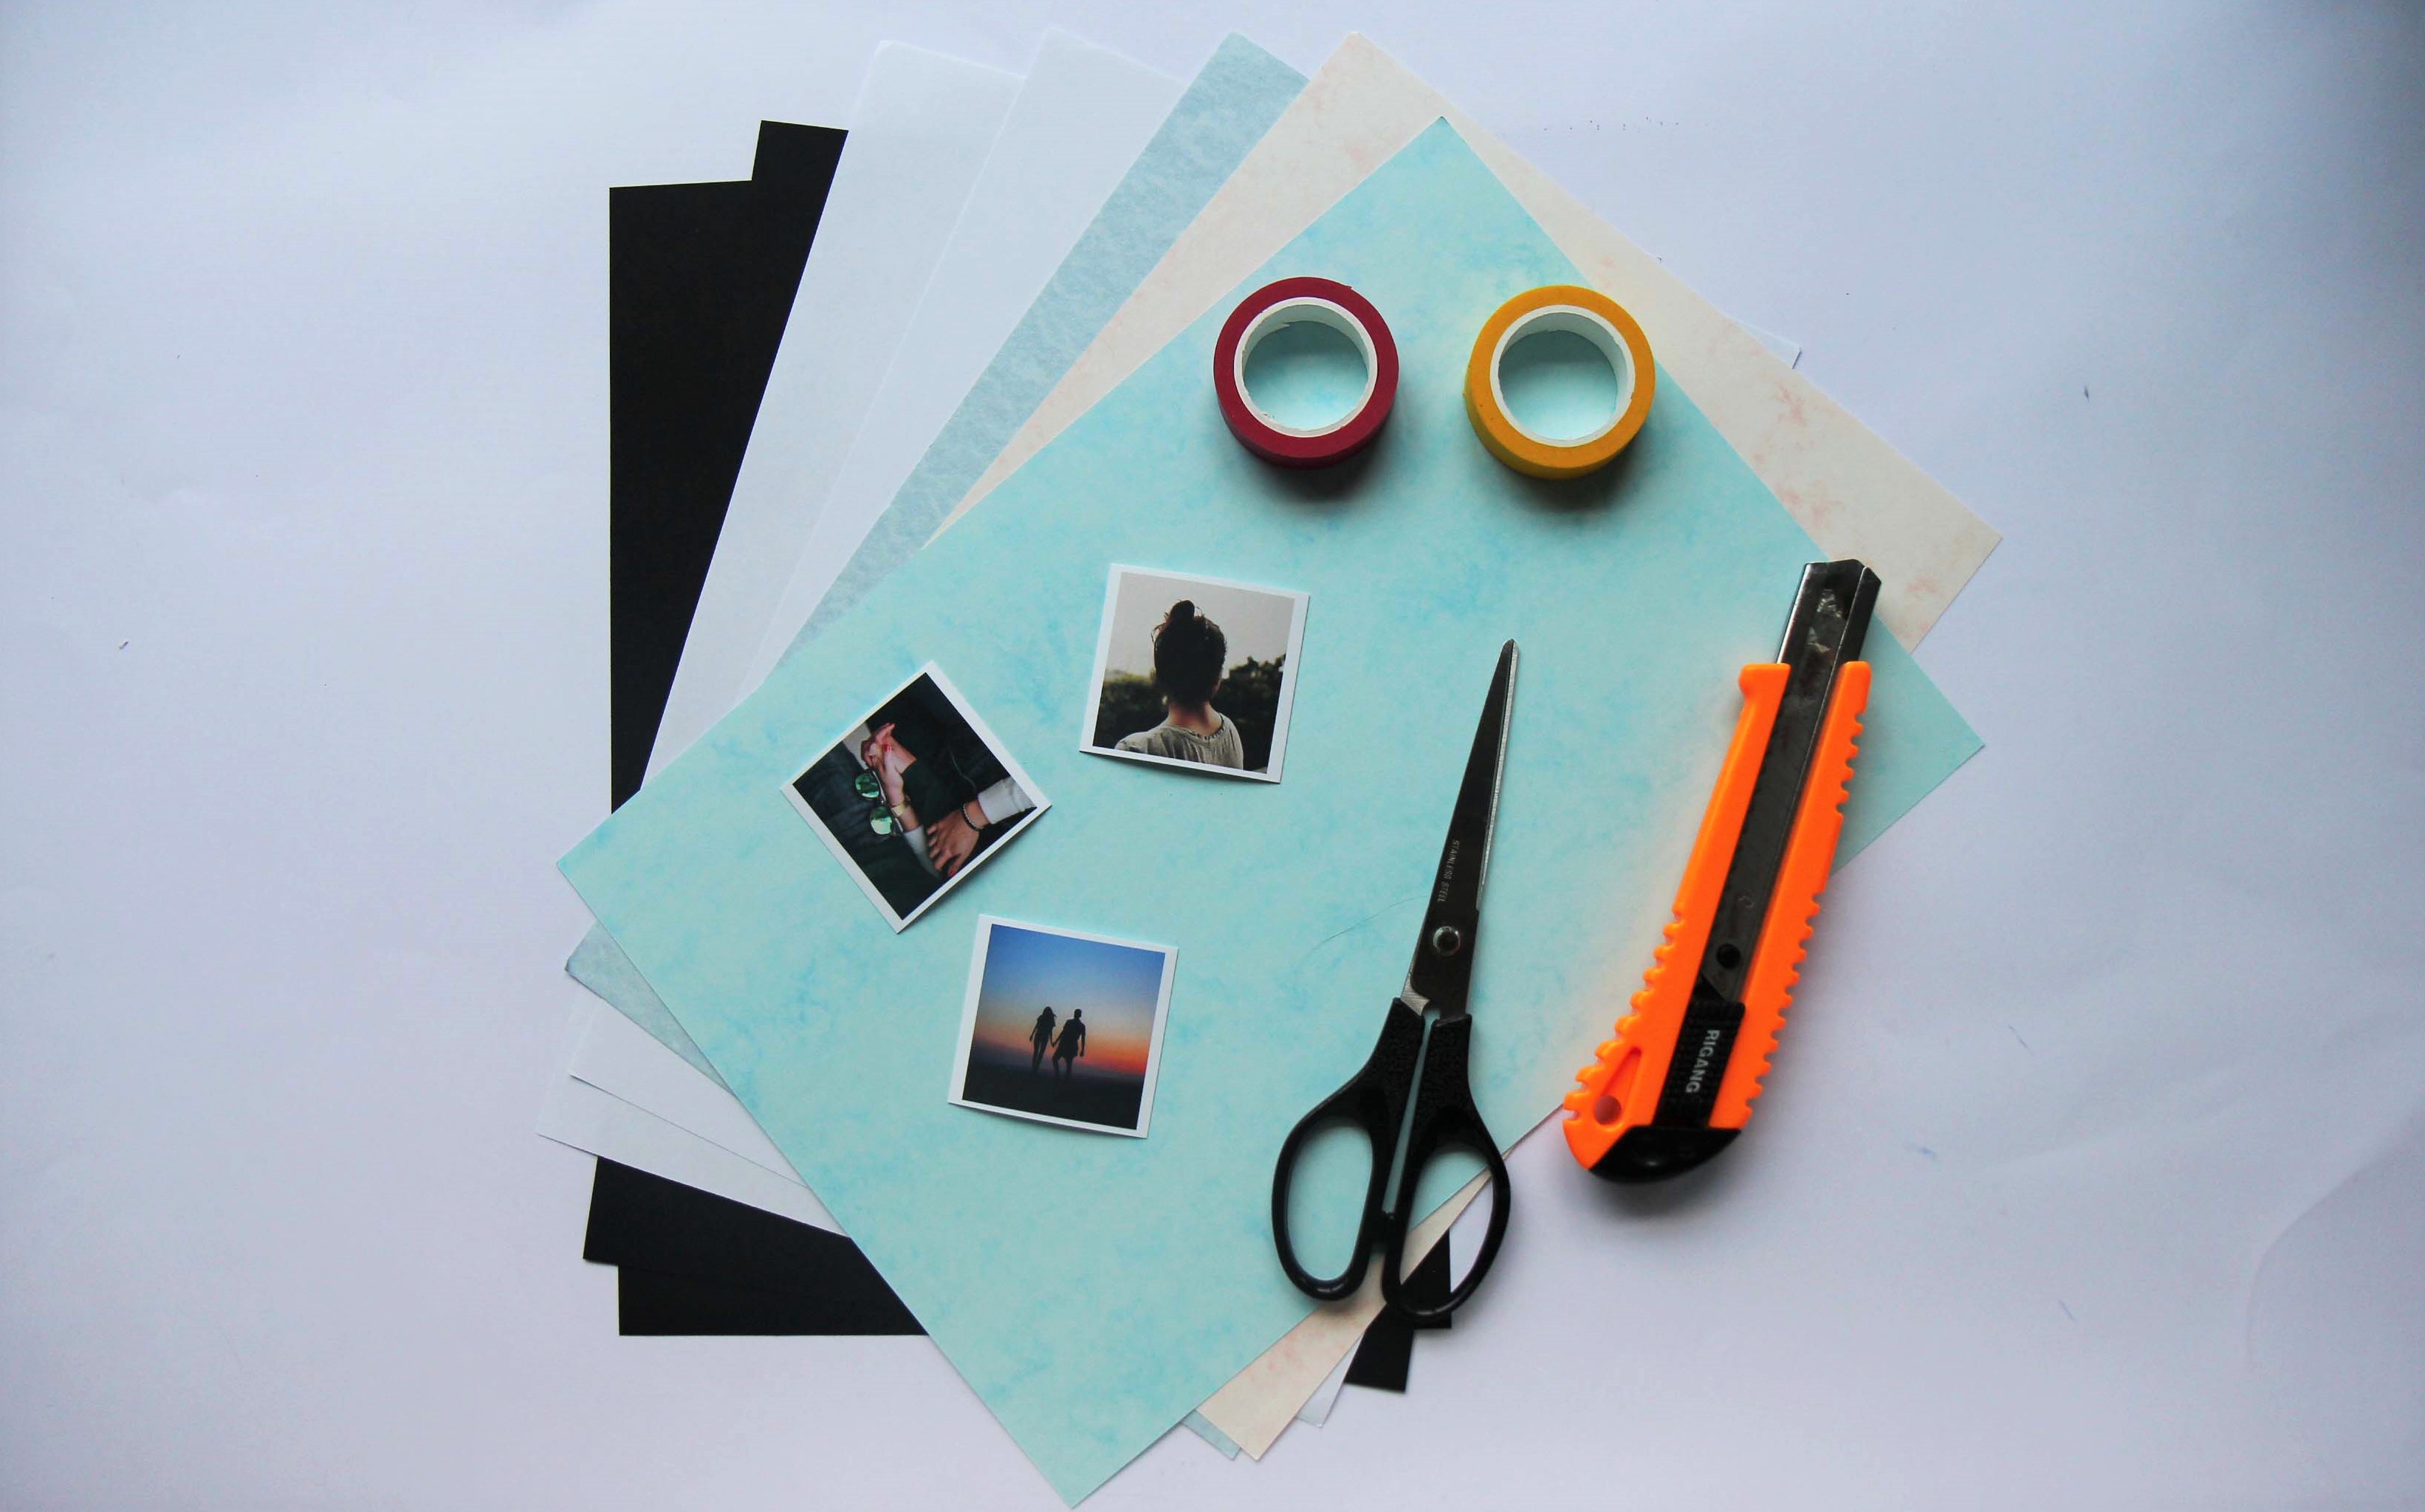
Here are the materials I used:
- Black/coloured paper(minimum 3/add more if you want the product to have more layers )
- Patterned papers (For the decoration and cover)
- Squared photos (I used 12 here)
- Adhesive materials (I used double-sided tape and glue)
- Scissors / blade ( Please do not cut your fingers!! )
- Some pens to decorate and write ( I used a gold marker pen)
SHALL WE START?
Cut one of the coloured paper into a square, or you can get a square paper if you want. For me, I trimmed the length of the A4 paper down to its width so the size of the paper is 210mm x 210mm. This paper will be your 1st layer.
Now draw lines with the spacing of 7cm so you can get nine 7cm x 7cm squares
At the four squares at the corner, draw a heart shape in each of them and a line bisecting each of the heart shapes
Cut the paper and fold it as shown:


Now we need another two square papers, their sizes are 180mm x 180mm and 150mm x 150mm respectively. They are your 2nd and 3rd layers.
Similar to the previous square paper, draw lines with the spacing of 6cm so you can get nine 6cm x 6cm squares for the 180mm x 180mm paper and spacing of 5cm to get nine 5cm x 5cm squares for the 150mm x 150mm paper.
Cut them into the shape shown below and fold them like this:
Now paste the base of your 2nd layer on top of your 1st layer then base of 3rd layer on top of your 3rd layer.
This is where our photos come in!! Paste as many photos as you can and decorate your layers!

For the cover, we will need a 7cm x 7cm square with 2 layer of 2cm borders
Cut them into the shape as shown:
Now cut the four 2cm lines where the arrows are point
Afterwards, fold the outer 2cm border into the inner 2cm border and stick them together so that the cover will be stronger.
Stick the corners to the 2cm border next to it and you will get your cover.


You may now decorate your cover.
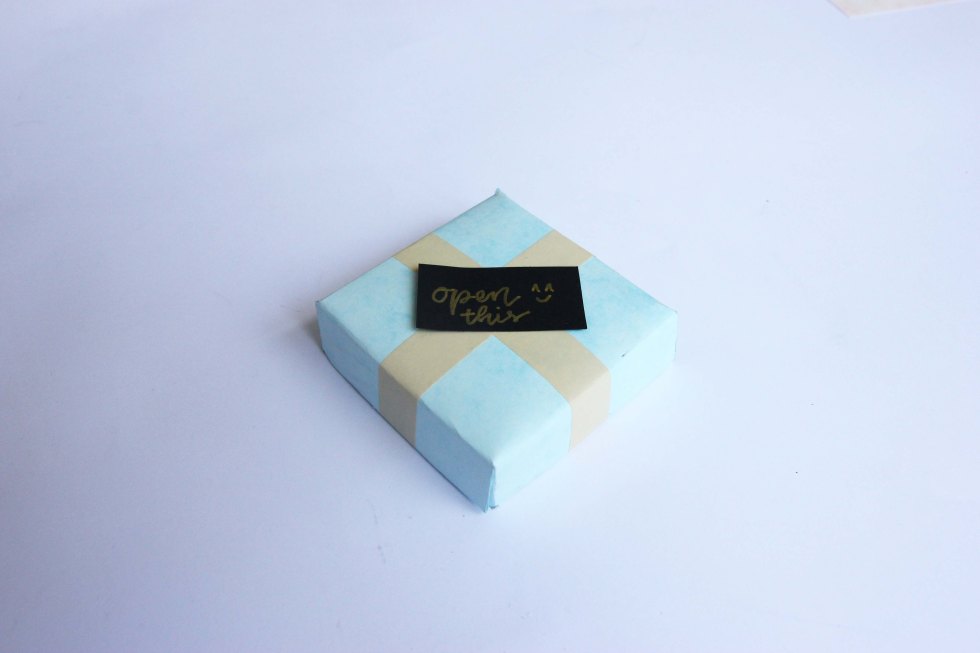
BOOM! There you have your box ready to explode 😀


I was amazed by this idea when I first saw it on Instagram. Similar to the squash album I previously did, it might just a small gift, but when you open it, it can be full of surprises inside!! I’m sure the people who receive it will love it, because I do!!
You can even combined with other crafts to make it even more fun such as waterfall card and the accordion card. Here are some examples that other crafters did:


Try it and let us know the reaction of your friends when they receive this gift! You can start by printing the photos on our website!
Let’s start crafting it now!
You must be logged in to post a comment.